Making your own DIY worm farm is easy, but it’s definitely one of those things that you’ll either be super into…or not at all. I mean, let’s be honest – worms aren’t exactly cute and cuddly.
Worm farming, or vermiculture for the fancy among us, is a great way to reduce waste, but there are many other benefits, depending on how far you want to take it. It may be a weird way to save money, but it’s certainly a fun one!
Benefits of Worm Farming
First, when your wriggly friends break down your kitchen waste, they are eating up stuff that would otherwise take up space at the landfill while decomposing. As minimal as it may be, it all adds up over time!
Your worm farm will also be amazing for those of you are into gardening on a budget. Not only will the castings be great to mix in (no having to actually buy compost!) but the liquid “tea” they generate is one of the best fertilizers you can find…and it’ll cost you nothing to keep it going!
Another benefit is that it’s a great way to teach your children to care about the environment and about those around them. While not all kids will be into worm farming, let’s be real – most will be rather excited about it! Plus worm farming is easy to set up and care for, making it a great project for even the youngest among us.
How to DIY a Worm Farm
What You Need for a Worm Farm
There are many (MANY) different wants to DIY a worm farm, but the route we went requires the following:
- 5 gallon tote with lid
- Screen material
- Hot glue gun
- X-Acto Knife or box cutter
- Heat gun (not completely necessary but will definitely make cutting the tote easier!)
- Shredded newspaper – about a Sunday’s edition worth – soaked in water and wrung out
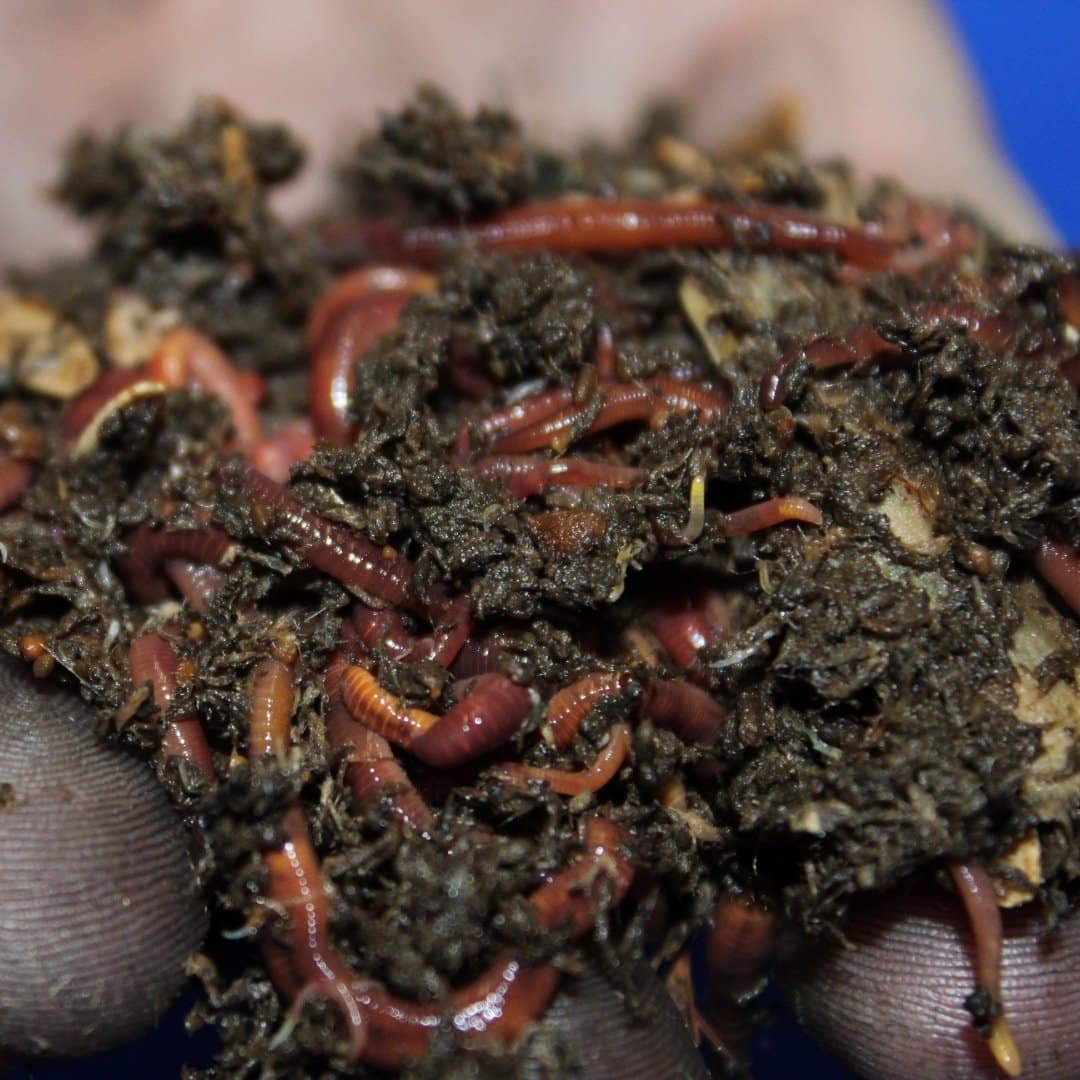
- Worms – check your local resale sites on Facebook or Craigslist to find ’em. You’d be surprised how common vermiculture is!
Where to Keep Your Worm Farm
Before you start building your worm habitat, decide on where you’ll keep the critters. Do *NOT* plan to keep them outside!! A warm, dry, dark environment is best – like your basement – but anywhere out of direct sunlight that’ll stay 40 – 80 F (4 – 27 C) will be fine. They tend to generate a lot of their own heat as they break down their food, so it’s exceptionally important you keep them somewhere relatively cool, though obviously not so cold they’ll freeze.
Once you have your ideal location set, it’s time to get building!
Building a Worm Farm
First, if you have a heat gun, use it to warm up the area of your tote lid you’ll be cutting. It really does make a difference in getting that center cut out:
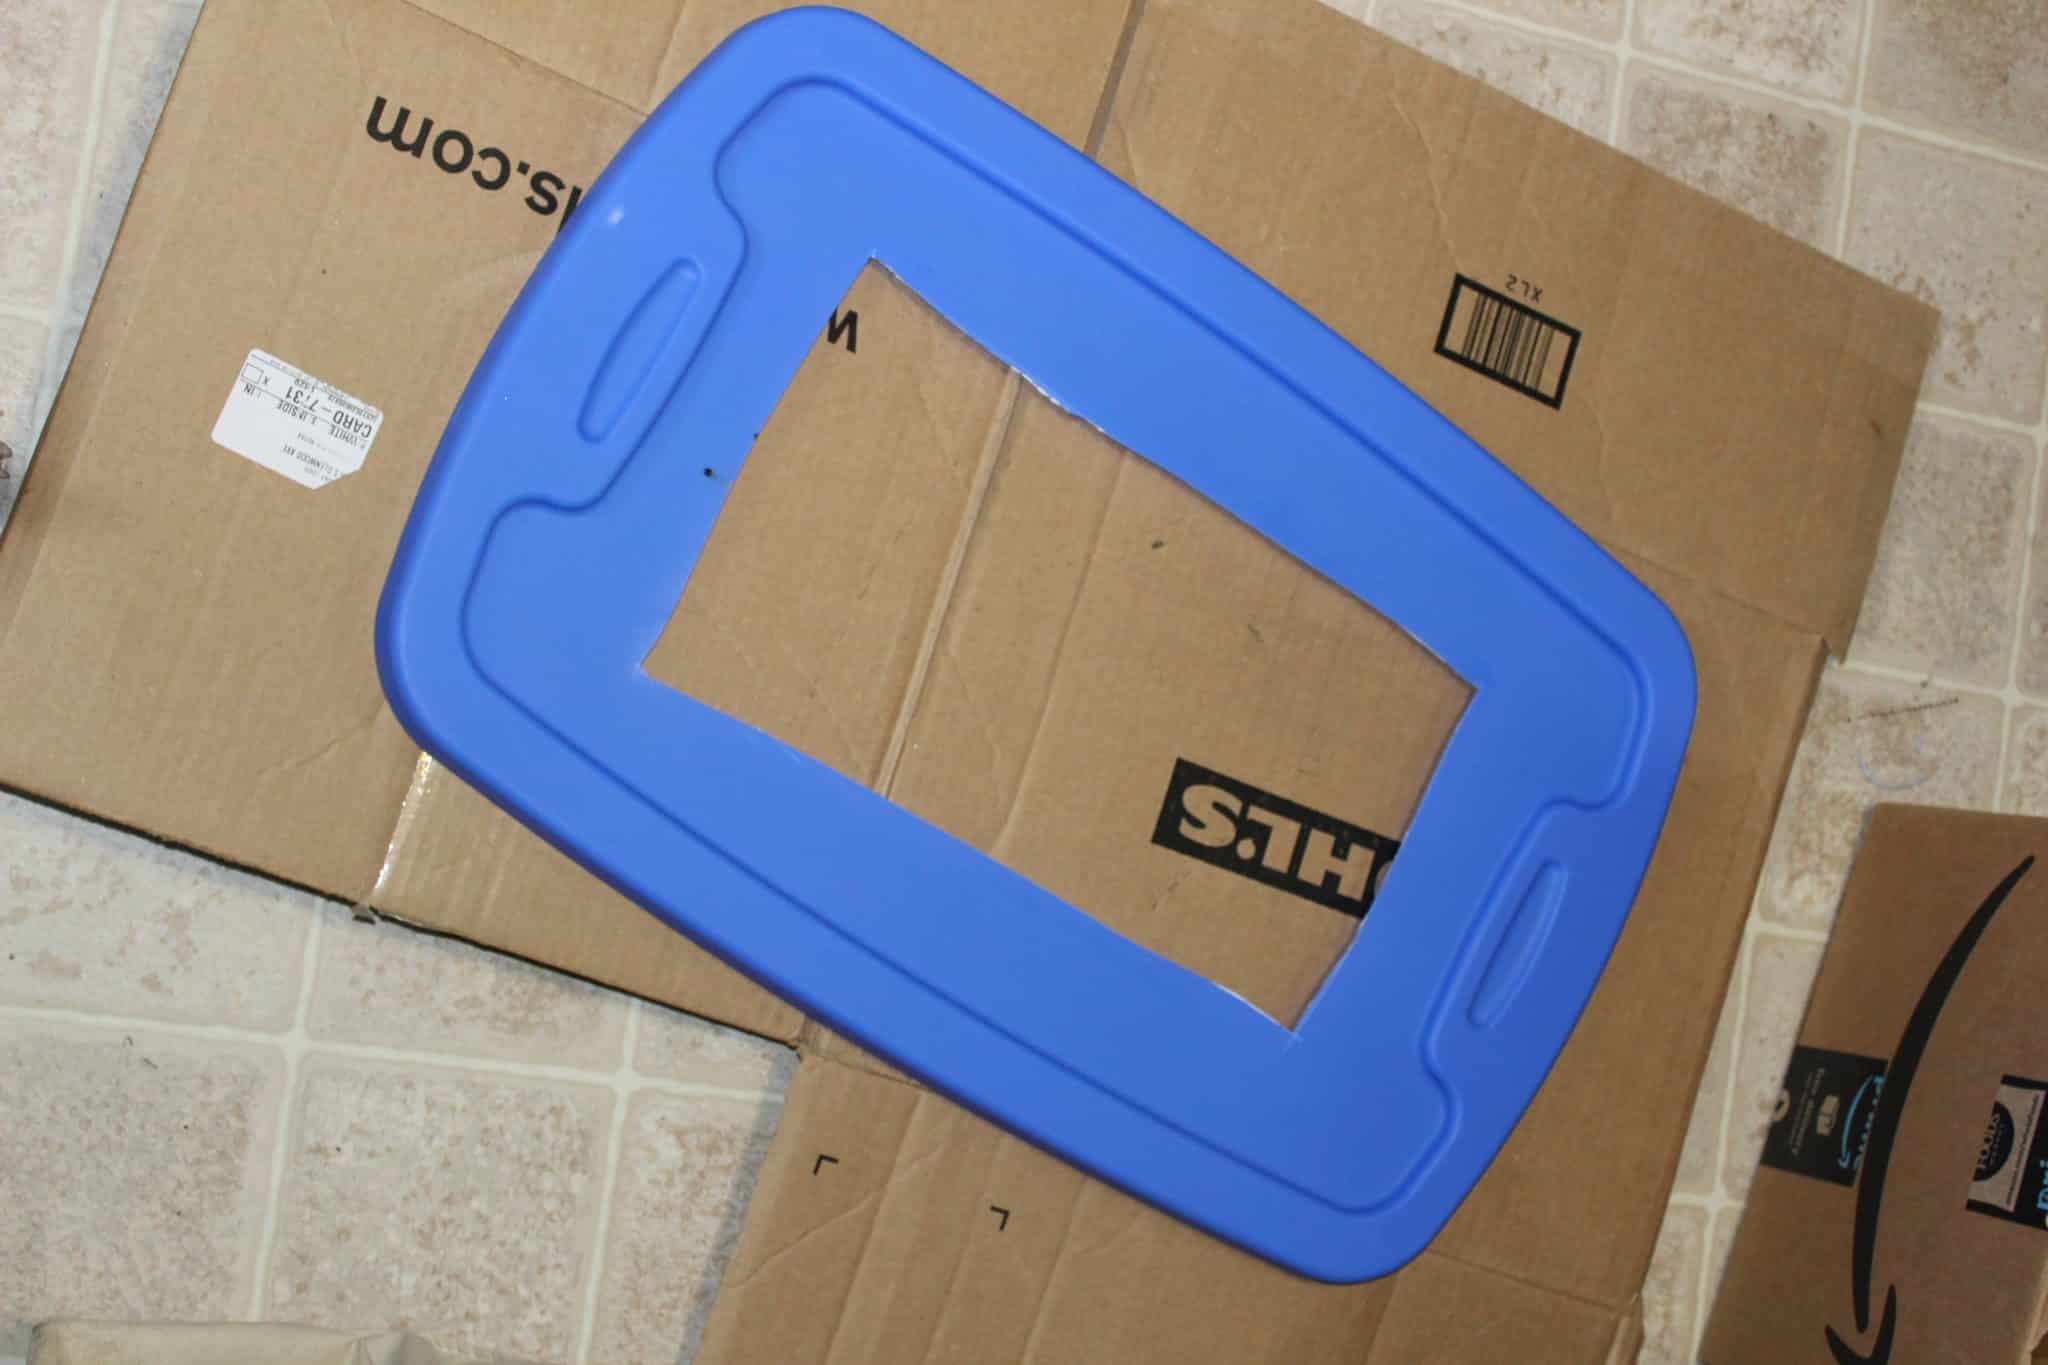
Then use that center cut out to trace and cut out screen material big enough to cover the area you just cut out. From there you’ll hot glue that screen onto the top of the lid. I then used duct tape to secure it all the better – again done on TOP the lid.

Originally I went the route of just drilling holes into the lid and that was fine…until my wriggly friends started to wriggle their way out of the nice home I built them! So rude, right? Supposedly the worms won’t do that if you have a nice environment for them, but uh…no. Heh trust me, the screen is the way to go!
You can also drill and insert a spigot into the bottom to drain some of the liquid that’ll accumulate, but I just make sure to monitor the dampness every few days and will add shredded newspaper or cardboard as needed.
What to Put In Your Worm Farm
When you’re first adding your worms, you can start with whatever dirt they’ve come in and then use wet, shredded newspaper and cardboard – be sure to wring it out first as you want it wet, but no where near dripping. Fill your tote about half full with the shreds and make sure it’s fluffed up enough for the worms to move freely and have plenty of oxygen.
There’s no need to add additional dirt, yard waste, etc. In fact, it’s safer to avoid ever doing that, as you never know what sort of contaminants might be there.
You can then go ahead and add your worms, but wait a couple days before adding in any food.
What to Feed Worms
Fortunately worms aren’t too picky when it comes to food, though mine are certainly big fans of moldy tomatoes (yum…)
You’ll want to avoid meat or highly acidic foods, like onions and citrus. Also try to avoid going overboard on the coffee grounds.
Your worms will thrive best when given a 2:1 ratio of pounds of worms to daily pounds of food, but this may vary a bit. It’s best to start off with food in one corner and then monitor it to see how fast it goes. As that corner starts to dissipate, put another serving in another corner. This helps keeps the worms moving and keeps the waste well circulated.
Should you start seeing gnats or other flying friends, cut back on the food a bit and/or loosely place a piece of dry cardboard in the bin on top of the papers/waste.

As they begin to generate those castings, feel free to scoop it out and add it to your garden or indoor plants. Eventually you may find your worm friends have reproduced so much that they need a new home – this can be a great way to earn some extra cash from home or you can create a second home if your garden is in need!
Do you have any questions about DIY’ing your own worm farm?
Comment below, I’m happy to help!


I’m curious about warm climates. It rarely gets below 40 here – even at night. During the summer our garage gets up to 120f inside. We do not have basements here. I’m trying to determine where a good spot is?
Honestly we had to keep ours in a closet in the house during the summer because of how hot it got here. There wasn’t a smell or anything (if there ever is, there’s a major issue with your farm!)
You could always dig into the ground and make it covered on the top to keep them cool. This is a way people in like Arizona n places of that sort of weather would keep things cool way way way back in the day. Always remember when u dig down into the ground it is cooler than it is on top of the ground. This would be a way to kind of regualte your temp. And also keep them from burning up!! Just a thought hope it helps and best part ITS FREE!! LOL DID I SAY PUT YOUR TOTE IN THE SPOT U DUG OUT NOT JUST ON THE GROUND LOL
What is the best kind of worm for sea fishing?
Haha I wouldn’t know, I don’t feed my worms to anything!
Just starting to warm farm
blood worns
Ive been doing a DIY worm farm and i was seeing tiny dots everywhere that moved. I thought they were bBy worms but then u saw a maggot. I don’t know if these were related or not but I changed out the container anyway. That being said, What do baby worms look like?
They look exactly like adult worms, but very, VERY small (like the tips of fingernail tip).
I have seen coconut coir used as soil. Not readily available in Ny. Anything else I can use to keep happy??
Oh we’ve never had to add soil, we just used what they came in, which wasn’t very much. Only newspapers on occasion. They then make more soil by eating the scraps.
Would a large fish tank work so the kids can see the process and the worms?
I think so, yeah! You’ll just have to keep a close eye, make sure it doesn’t get too wet in there.
Sounds like a great idea! I just put mine in a 3 pound coffee can because we only had a few. But I like the idea so I hope someone comments that they have actually done that.
I’ve got 4 plastic patio chests full of bagged top soil purchased at a local nursery! I plan to put a 5 gallon HD Bucket with holes drilled in the bottom and the sides as a Feeding Tower filled with coffee grinds and kitchen wastes!! They are outside in a shady area and the Growing Area is 7A!!! Any Suggestions ‼️‼️
They don’t need the top soil, they need paper and produce waste. Too much soil and you’ll cook them.
Make sure you’re using red wigglers, not earthworms.
You will also want to put a screen wherever you’re drilling holes, or the worms will quite possibly leave.
Lastly, I would make very sure that it doesn’t get too hot, especially right now. They don’t well over 80 degrees.
HI There,
I was wondering if flowers/petals and or tomato plant leaves/stems can be fed to worms? Right now I just have a worm tower in my raised garden that worms cannot get into from the ground, I purchased 100 worms from a seller (Uncle JIM), they are not red wigglers.
Can you mix different species of worms.
Thanks,
ED
You can mix different worms, just be mindful as one type can begin to out-populate the other. If this happens you’ll want to separate out the lesser set so they can better re-populate.
As for feeding them – they can eat basically any organic matter. You just don’t want to feed them things like citrus, onions, dairy, or meat. Dead flowers and tomato vines are fine!
Can night crawlers be farmed the same way? I want to start a night crawler farm.
Do you have to cut up banana peels? I just ordered my worms and I am so excited to get started!!
Nope! 🙂 They will take care of the whole thing, so need to cut it up.